Setting Up GPU Cards on FreeBSD 13
Back then, you will need to create the Xorg.conf file and write something in it just to get the GPU card working. However, for some GPU cards, things doesn't well when following the configuration guide from its official handbook doesn't work. Today, you won't need this thing anymore and you can just load it without the useless Xorg.config file.
What you only need is just load the GPU kernel modules. That's it!
1. Installing the kernel module package.
You will need these to enable your installed GPU to work with the FreeBSD 13 operating sysrtem. It can be done by 2 ways:
ii) Installing it from ports source:
$ cd /usr/ports/graphics-drm-kmod && make install
Note: For Nvidia GPUs, see the section "2 iii) Nvidia GPUs" below.
2. Setting up the kernel modules.
i) For AMD GPUs
Kernel modules for AMD GPUs are divided into 2 types, radeonkms and amdgpu.
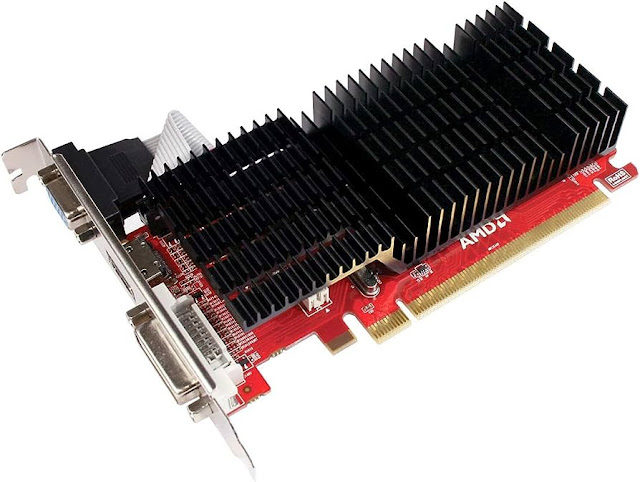
For users with legacy AMD GPUs eg ATI Radeon HD 4000/5000 series etc. and early AMD R3/R5 GPUs which were essentially a rebrand version of existing HD 7000/8000 models, you can run these commands below to activate GPU hardware rendering directly for testing:
$ kldload radeonkms
To activate the GPU rendering permanently, run the command to add the kernel module into /etc/rc.conf file
$ sysrc kld_list+=radeonkms
Meanwhile, for users with AMD GCN, RDNA and Vega GPUs, run the command below to activate amdgpu kernel module directly:
$ kldload amdgpu
To activate the GPU rendering permanently, run the command to add the kernel module into /etc/rc.conf file:
$ sysrc kld_list+=amdgpu
ii) Intel GPUs
NOTE: Intel ARC GPU are not supported for now at the time of writing, if supported, the kernel module may be under new name, not i915kms.
For users with Intel integrated CPU inside the motherboard or its CPU, run this command to load the GPU kernel directly:
$ kldload i915kms
To activate the GPU rendering permanently, run the command to add the kernel module into /etc/rc.conf file:
$ sysrc kld_list+=i915kms
iii) Nvidia GPUs
Nvidia GPU drivers are mostly closed source and its driver packages divided by couple of versions depending on what kind of GPU model that you are using.
If you're using latest Nvidia GPU models from RTX 4090 up until old GTX 750Ti, run these command below to install:
$ pkg install nvidia-driver
However, if you're using old GPU other than GTX 750Ti, you can try to install one of these packages:
nvidia-driver-470
nvidia-driver-390
nvidia-driver-340
nvidia-driver-304
If you're installing nvidia-driver, nvidia-driver-470 and nvidia-driver-390, load the kernel module directly:
$ kldload nvidia-modeset
To run it permanently on every boot, run this command to add the kernel module into /etc/rc.conf file:
$ sysrc kld_list+=nvidia-modeset
If you're installing the old nvidia-driver-340 and nvidia-driver-300 for very old GPUs, run these command to load the kernel directly (WARNING: This may break latest Xorg functionality):
$ kldload nvidia
To run it permanently on every boot, run this command to add the kernel module into /etc/rc.conf file:
$ sysrc kld_list+=nvidia
After installing the nvidia driver, you may need to add these line into /etc/sysctl.conf to fix shared memory identifier error:
kern.ipc.shmall=32768
If you're using laptop equipped with Intel GPU and also Nvidia GPU (hybrid GPU), run this command to install Nvidia hybrid GPU driver.
$ pkg install nvidia-hybrid-graphics
You will need to load it by enabling its kernel modules in /etc/rc.conf
$ sysrc nvidia_xorg_enable="YES"
$ service nvidia_xorg start
If you're using X11 desktop environment, run this command to create automatic Xorg.conf file for your Nvidia GPU, it needs to be installed first.
$ pkg install nvidia-xconfig
$ nvidia-xconfig
For installing experimental nvidia-drm-kmod, see this article here, this one is another topic.


Comments
Post a Comment